


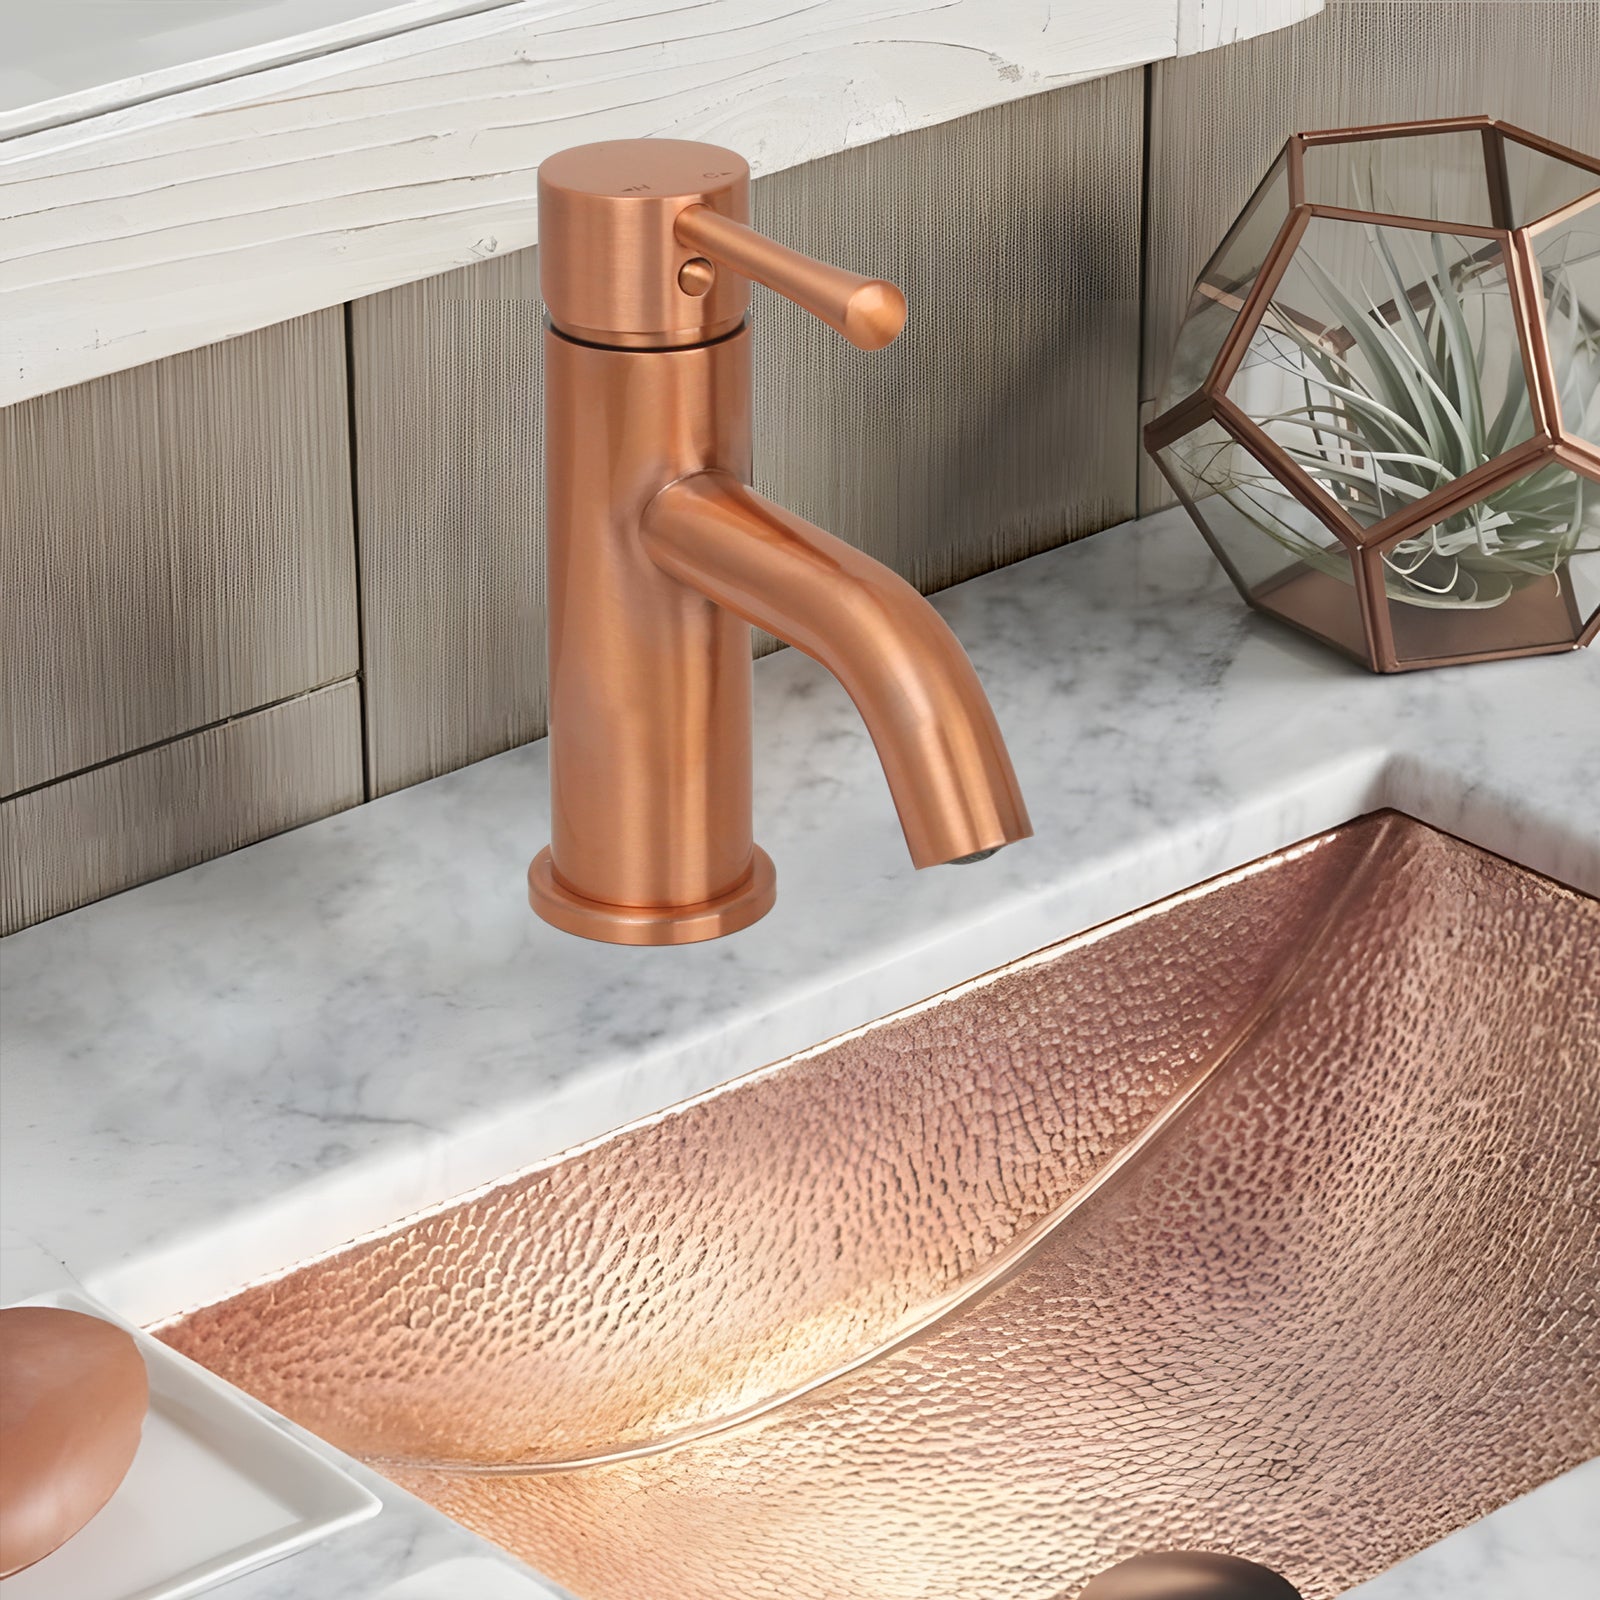


Faucet Frequently Asked Questions
Find answers for kitchen faucets, bathroom vanity faucets, and bathtub fillers, from choosing a model to installation, care, and replacement parts.
Faucet Types & Selection
Kitchen options include standard sink faucets, pull-down and pull-out models, side-sprayer configurations, wall-mounted pot fillers, bar and prep faucets, and dedicated filtered-water faucets. Bathroom options focus on vanity faucets, while bathtub fillers are designed to reach over a tub rim and fill the bath. Choose the fixture type first, then check the mounting layout and finish for the specific model.
A pull-down spray head extends down into the sink, usually from a tall, curved spout. A pull-out head extends outward toward you and is often paired with a lower spout. Compare overhead clearance, hose travel, spray reach, and docking. A deep basin with room above it can suit a tall pull-down design, while a lower pull-out model may fit more easily beneath a cabinet.
A single-handle mixer adjusts temperature and flow with one lever, which is convenient when your other hand is occupied. A two-handle faucet controls hot and cold separately. Handle count and mounting-hole count are separate specifications. A two-handle bridge faucet, for example, may use a different hole layout from a three-piece widespread vanity faucet.
A pot filler is a dedicated faucet for filling cookware near the range. A wall-mounted model typically folds back against the backsplash when it is idle and connects to a cold-water supply. Check that the arms clear the range and hood, reach the intended burners, and allow room for your tallest pot. Close all valves after use.
A primary kitchen faucet is sized for tasks such as filling stockpots and rinsing cookware. A bar or prep faucet generally has a more compact profile suited to a smaller basin, where a long spout can overshoot the bowl or cause splashing. Compare the spout reach and outlet height against the actual bowl dimensions.
A standard kitchen faucet supplies water for general sink use and typically mixes hot and cold water. A dedicated water filter faucet dispenses water from a compatible filtration system and generally uses a separate cold-water connection. Check whether the filter system is included and confirm the tubing size, connector, and any air-gap requirement before ordering.
Bathroom vanity faucets serve a basin. Choose a mounting layout that fits the vanity and a spout that clears the rim, especially for a vessel sink. A bathtub faucet is a tub filler, which serves a different fixture. For a freestanding tub, check the floor-mounted filler’s spout height, reach, and rough-in requirements against the tub drawing.
Materials & Finishes
Akicon lists solid brass construction on selected faucets. The body, cartridge, hoses, and spray head can use different materials within one model. A finish name such as Copper describes the appearance and does not establish the body material. Check the product specifications for the construction of the model you are considering.
Available finishes vary by model and may include copper tones, oil-rubbed bronze, brushed gold, brushed nickel, or matte black. Review the finish options for the exact faucet style because not every color is offered on every model. Lighting and nearby surfaces can affect how a finish appears in your room.
Selected kitchen and bathroom fixtures are available in coordinating finishes. Compare the available finish names, photos, and sheen for each model before ordering. A plated faucet, a finished drain, and a handcrafted metal sink may show slight differences even when their overall tone coordinates.
Compare the sink and faucet in the room’s lighting, paying attention to warm or cool undertones and the sheen. You can coordinate the faucet with the sink, or repeat the faucet finish on the drain or cabinet hardware to tie the room together. For a copper sink, account for whether it is sealed or may develop patina.
Exposed, unlacquered copper or brass can darken and develop patina. A plated, coated, or sealed faucet will age differently and should be cleaned according to its finish instructions. Check the exact finish before using polish or a tarnish remover. Those products can change the appearance or damage a protective coating.
Dimensions & Compatibility
Measure from the mounting surface to the spout outlet for height, and from the mounting centerline to the outlet for reach, using the model’s drawing. Aim for the stream to land comfortably inside the bowl, away from the near wall. Check handle clearance at the backsplash, room below upper cabinets, and clearance above a vessel sink or tub rim.
Hole count depends on the model. A single-hole mixer commonly uses one opening. A widespread vanity faucet or a kitchen faucet with a separate side sprayer can require additional openings. Before drilling, check the required hole diameter, center-to-center spacing, and maximum sink or countertop thickness in the installation drawing.
Yes, when the faucet fits the center opening and a compatible deck plate covers the two unused holes. Measure the distance between the outer holes, ensure the plate fully covers them, and confirm that its gasket sits flat. Check the combined thickness of the sink and plate against the faucet’s mounting limit.
Some faucet packages include a deck plate and others do not. Review the included-items list for the exact model and finish, especially when replacing a three-hole faucet with a single-hole model. If you buy a separate plate, verify its overall length, faucet opening, and compatibility with the faucet base.
Check the connection sizes and fittings listed for your exact model. Kitchen and vanity supply hoses, wall-mounted pot filler inlets, and floor-mounted tub filler rough-ins can use different connection types. Compare the manual with your existing shutoff valves or rough-in, and have your plumber confirm any adapter before installation.
Use the operating pressure range in the model’s specifications or manual. A flow rating stated at a reference pressure is a test condition and does not establish the minimum operating pressure. If your supply pressure is unknown or the flow is weak, ask a plumber to measure pressure and check restrictions at the fixture.
Installation & Operation
The package depends on the model and variant. Check the parts list for the faucet body, mounting hardware, and any required supply hoses. A deck plate, side sprayer, drain assembly, or floor-mount rough-in kit may be model-specific. Compare the carton contents with the parts list before removing the old fixture.
An experienced DIY installer may be able to replace a deck-mounted faucet when the existing shutoffs, holes, and connections match. Read the model manual first and check for leaks with the supplies open before putting the cabinet back into use. Use a qualified plumber for new rough-in, damaged shutoffs, concealed connections, or a floor-mounted tub filler when the work is beyond your installation experience.
Close both shutoff valves and open the old faucet to relieve residual pressure before disconnecting it. Match the marked hot and cold lines to the corresponding shutoffs, using only the fittings and sealing method specified in the manual. Keep hoses free of kinks, reopen the valves slowly, and inspect the connections with the faucet both off and running.
A side sprayer mounts in a separate opening and connects to the faucet’s dedicated hose outlet. A pull-down head attaches to the hose through the spout, and many models use an under-sink weight to help it retract. Follow the model diagram for clips, washers, and weight placement. Verify that the hose moves freely and check each connection for leaks.
Have a qualified plumber use the exact filler and rough-in drawings to map the hot and cold supplies, floor anchors, and finished-floor height. Confirm that the base will be secure and that the spout clears the tub rim and directs water inside. The plumber should test concealed connections before closing the floor and check the finished fixture for leaks and movement.
Yes, if the model is designed for wall mounting. Before finishing the backsplash, have your plumber provide a secure mounting point and locate the cold-water rough-in using the chosen faucet’s drawing. Check folded and extended clearances against the backsplash, range, hood, and tallest cookware.
Troubleshooting & Maintenance
First identify where the water appears and whether it happens when the faucet is off, running, or moving. A drip from the spout when off can point to a worn cartridge or valve seal. Water around the base or below the sink can come from a hose, connector, or seal. Shut off the supplies if the leak is active under the sink, and send support the model and a photo of the leak location.
Check whether both shutoff valves are fully open and whether the hoses are kinked. If both hot and cold are weak at this fixture, a clogged aerator or spray-head screen may be restricting flow. If only one side is weak, inspect that supply path. With a dedicated filter faucet, also check the filter service interval and tubing for restrictions.
For uneven or weak spray, check the spray-head screen for debris and follow the manual for cleaning. If the head retracts poorly, look for a hose weight that has shifted or a hose catching on pipes or stored items. If the spray selector sticks or a connector leaks, identify the faucet model before ordering a matching head or hose.
Use a soft cloth and warm water with mild soap. Wipe away residue with clean water and dry the faucet, especially around the base and spout. Avoid abrasive pads, acidic cleaners, and unapproved metal polishes. Follow the specific care instructions for a plated, sealed, or unlacquered finish.
Start with a warm, damp cloth and mild soap, then rinse and dry. If deposits are inside a removable aerator, follow the manual for removal and cleaning, taking care not to scratch the trim. Avoid soaking the finished faucet or exposing it to vinegar or descaler unless the manufacturer approves that cleaner for the specific finish.
Confirm the faucet model and obtain the matching part and instructions. Before working on a cartridge, shut off both supplies and relieve pressure. Record the cartridge orientation and follow the manual for the retaining hardware. For a spray head, hold the hose so it cannot retract into the spout, then check the replacement washer or seal. Test the faucet for leaks after reassembly.
Determine whether the handle itself is loose or the entire faucet moves at its base. A loose handle may have a set screw beneath a decorative cap. Use the model’s instructions and the correctly sized tool to tighten it without forcing the screw. If tightening does not help, or the handle also leaks, contact support to check for worn hardware.
Warranty & Support
Akicon’s warranty page lists five years for faucets, with terms that can vary by product. Check the exact model’s warranty for coverage, exclusions, and claim instructions. Keep your proof of purchase and model number. Include a photo or short video when contacting Akicon about a defect.
Availability depends on the faucet model, revision, and part. Contact Akicon with the model or SKU, the finish, proof of purchase if available, and a description of the problem. Support can check options for components such as cartridges, spray heads, hoses, or handle hardware. Matching the finish alone will not establish fit.
Find the model or SKU on the order confirmation, packaging, or product label. Compare the part against the installation manual or parts diagram, then send Akicon a clear photo of the faucet and component. Where relevant, include a photo of the connector or markings and the approximate purchase date so support can check for model revisions.