


A range hood is an essential part of any kitchen, especially if you cook frequently using a gas range or deal with smoke, steam, and odors. Whether you choose a stainless steel range hood or a more intricate design like a hammered copper range hood, installation can be a straightforward process if done correctly. This guide will walk you through the installation of a standard range hood while highlighting various stylish options and kitchen hardware that can transform the aesthetic of your space.
Why You Need a Range Hood
Before diving into the installation process, let’s briefly discuss the importance of a range hood. A properly installed range hood helps to remove cooking fumes, moisture, and heat from your kitchen, making it a more comfortable and healthy environment. Moreover, it protects your walls, cabinets, and other fixtures from grease buildup. Whether you're using a custom copper hood, a custom stainless range hood, or a traditional design, this appliance plays a critical role in maintaining the functionality and aesthetics of your kitchen.
Tools and Materials You’ll Need
Before you start installing your range hood, gather the necessary tools and materials:
- The range hood itself (e.g., stainless steel range hood or hammered copper range hood)
- Screws and wall anchors (usually included with the hood)
- Drill and drill bits
- Tape measure
- Level
- Pencil
- Stud finder
- Ductwork (if venting outside)
- Electrical wiring tools
Step 1: Choose Your Range Hood Style
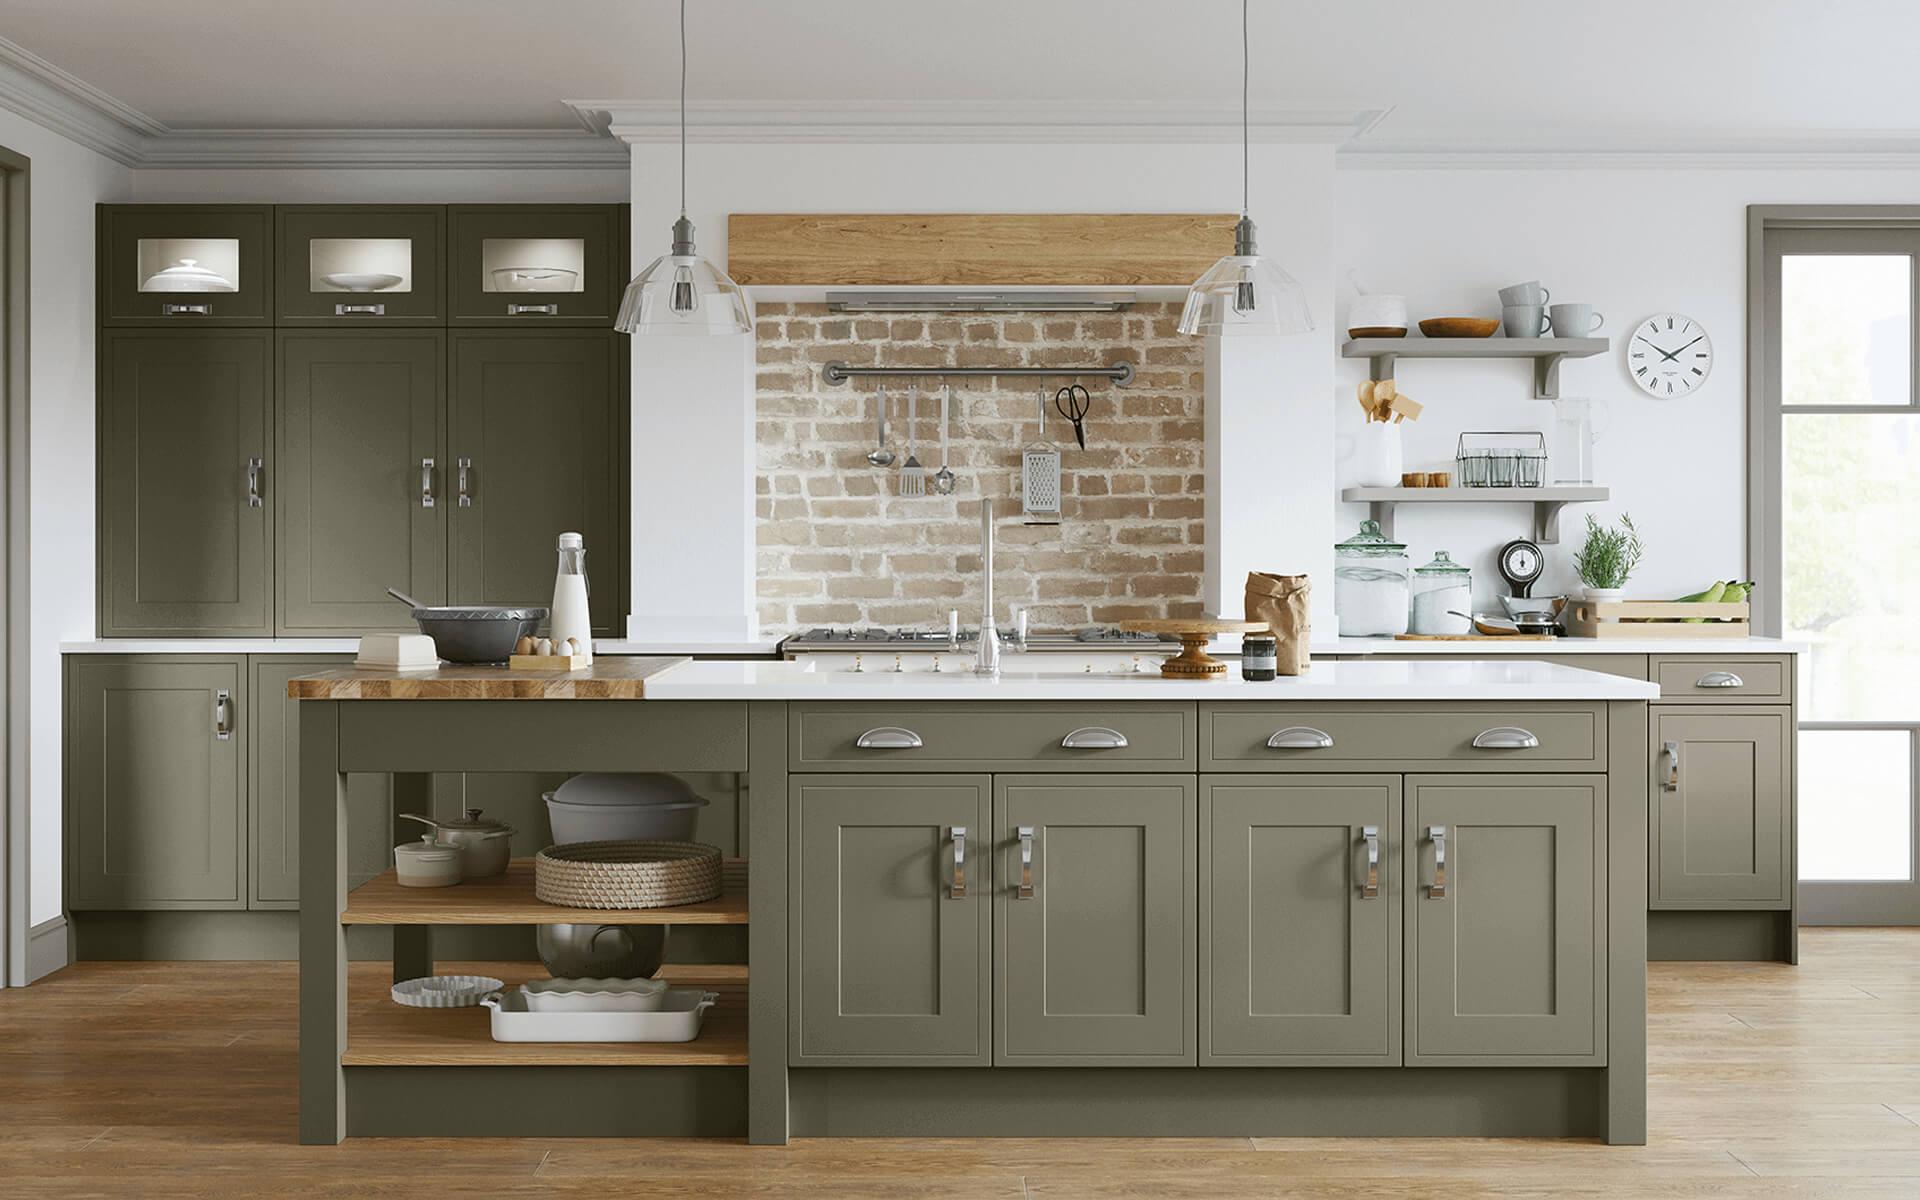
One of the first decisions to make is the style and material of your range hood. Modern kitchens often feature sleek stainless steel range hoods, but if you're aiming for a more rustic or artistic touch, consider a hammered copper range hood. This adds a touch of old-world charm while maintaining durability. For those looking to elevate their kitchen design, a custom copper hood or custom stainless range hood can provide a personalized look that seamlessly integrates with other kitchen elements like custom copper kitchen sinks or handcrafted cabinet hardware.
Step 2: Measure and Mark the Installation Area
The first practical step in installing your range hood is to measure the area above your stove. The bottom of the hood should be positioned between 20 to 30 inches above the cooking surface, depending on the type of range you have. For example, if you're installing the hood above a gas range, the height should be closer to 30 inches to allow for better ventilation.
Once you have the correct height, use a pencil and a level to mark the spots where the hood will be attached to the wall. If you're working with a heavier design, such as a hammered copper range hood, ensure the wall can support the weight, and use a stud finder to locate the studs for secure mounting.
Step 3: Prepping the Ductwork (If Venting Outside)
Many range hoods are designed to vent outside, which helps in removing smoke and odors from the kitchen completely. If your hood requires exterior venting, you will need to install ductwork. This might involve cutting a hole in the wall or ceiling for the vent.
For hoods made from materials like custom stainless steel or hammered copper, venting can help maintain their pristine appearance by reducing grease and grime buildup. Remember to consult the instruction manual that comes with the hood to understand the specific ducting requirements.
Step 4: Install the Electrical Wiring
Most range hoods require electrical wiring for the fan and lights to function. If there’s already wiring in place, you can connect it following the hood’s instruction manual. If not, you’ll need to hire a licensed electrician to install the necessary wiring. Be sure to follow all electrical safety guidelines during this process.
Range hoods with additional features, such as those found in custom copper hoods or more advanced custom stainless range hoods, may have multiple wiring components, including dimmable lighting and higher-powered fans, requiring more precise installation.
Step 5: Mount the Range Hood
Now that your measurements, ductwork, and electrical wiring are in place, it’s time to mount the range hood. Carefully position the hood against the wall or under the cabinet, aligning it with the marks you made earlier. Use the provided screws and anchors to secure it in place.
If you’re installing a stainless steel range hood, the smooth surface makes it easy to clean and maintain. For heavier materials like a custom copper hood, you may need an extra pair of hands to lift and position the hood correctly. Make sure the hood is level before fully tightening the screws.
Step 6: Attach the Ductwork
Once the hood is securely mounted, attach the ductwork to the hood’s venting outlet. Make sure all connections are sealed properly to prevent any leaks. Use duct tape or fasteners to secure the joints.
Step 7: Finalize and Test the Installation
Now that the hood is in place, turn the power back on and test both the fan and the lights to ensure everything is functioning correctly. Listen for any odd sounds that could indicate a loose connection. If the hood includes advanced features like multiple fan speeds or dimmable lights, test these as well to confirm everything works smoothly.
A Range Hood Complements Your Kitchen's Aesthetics
Installing a range hood isn’t just about improving ventilation; it’s also an opportunity to enhance the overall look of your kitchen. Pairing your hood with matching handcrafted cabinet hardware or a custom copper kitchen sink can tie the entire space together. If you’re going for a luxurious, artisanal feel, consider complementing your custom copper hood with a custom copper bathtub or even a custom copper mural for a cohesive design.
Adding these features will create a cohesive and elegant space, making your kitchen both functional and beautiful. For example, a hammered copper range hood pairs exceptionally well with hammered copper kitchen sinks and custom copper kitchen sinks, adding a unique, handcrafted element to your kitchen.
Maintaining Your Range Hood and Kitchen Fixtures
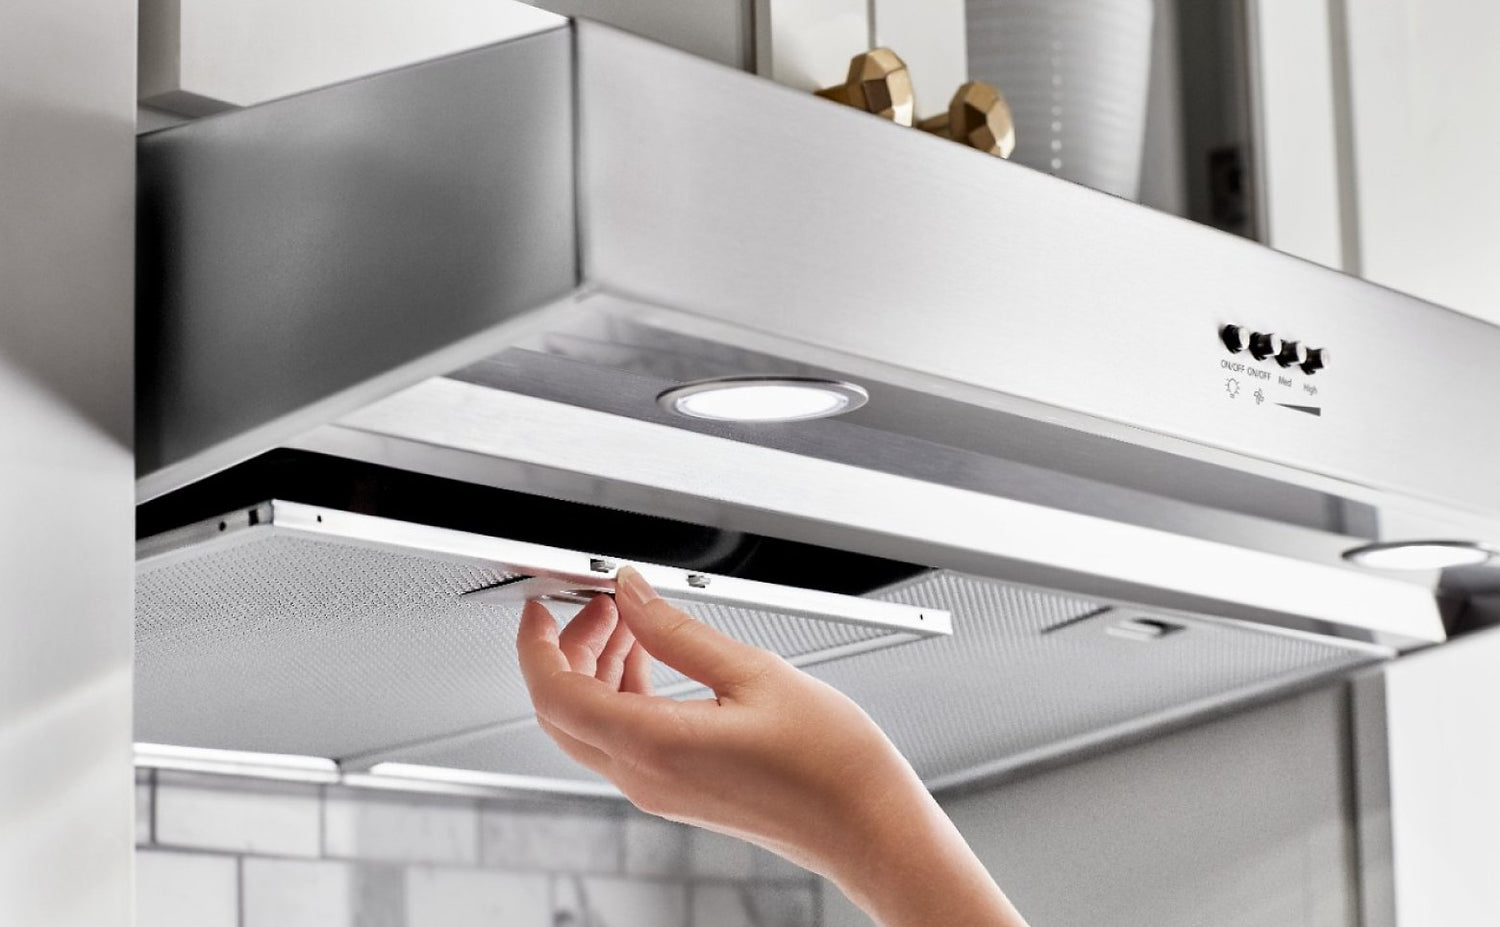
Proper maintenance is key to extending the lifespan of your range hood and other kitchen fixtures. Stainless steel range hoods can be cleaned easily with stainless steel cleaner to maintain their shine. For hammered copper range hoods, regular cleaning with a gentle, non-abrasive cleaner will preserve the rich patina of the copper, keeping it looking beautiful for years.
If you notice any issues with the hood or other fixtures, make sure to address them promptly. Over time, grease and grime can build up, impacting the functionality and aesthetics of your range hood, custom copper kitchen sinks, or custom copper bathtubs.
Upgrade Your Kitchen with Akicon’s Custom Solutions
Ready to elevate your kitchen with stunning custom copper hoods, stainless steel range hoods, or unique handcrafted fixtures? Akicon offers a wide range of products that combine beauty, durability, and functionality. Whether you’re installing a new range hood or upgrading your kitchen with a custom copper kitchen sink or handcrafted cabinet hardware, Akicon’s expert craftsmanship and high-quality materials are unmatched. Visit Akicon today to explore our wide range of kitchen and bath solutions and transform your space into the kitchen of your dreams.