


Building a custom range hood for your kitchen can elevate its design and functionality. Whether you're aiming for a sleek stainless steel range hood or a charming custom copper hood, this guide will walk you through the process, ensuring your project is a success. Utilizing quality materials and proper techniques will result in a beautiful and efficient range hood that complements your kitchen's aesthetic.
Step 1: Planning and Design
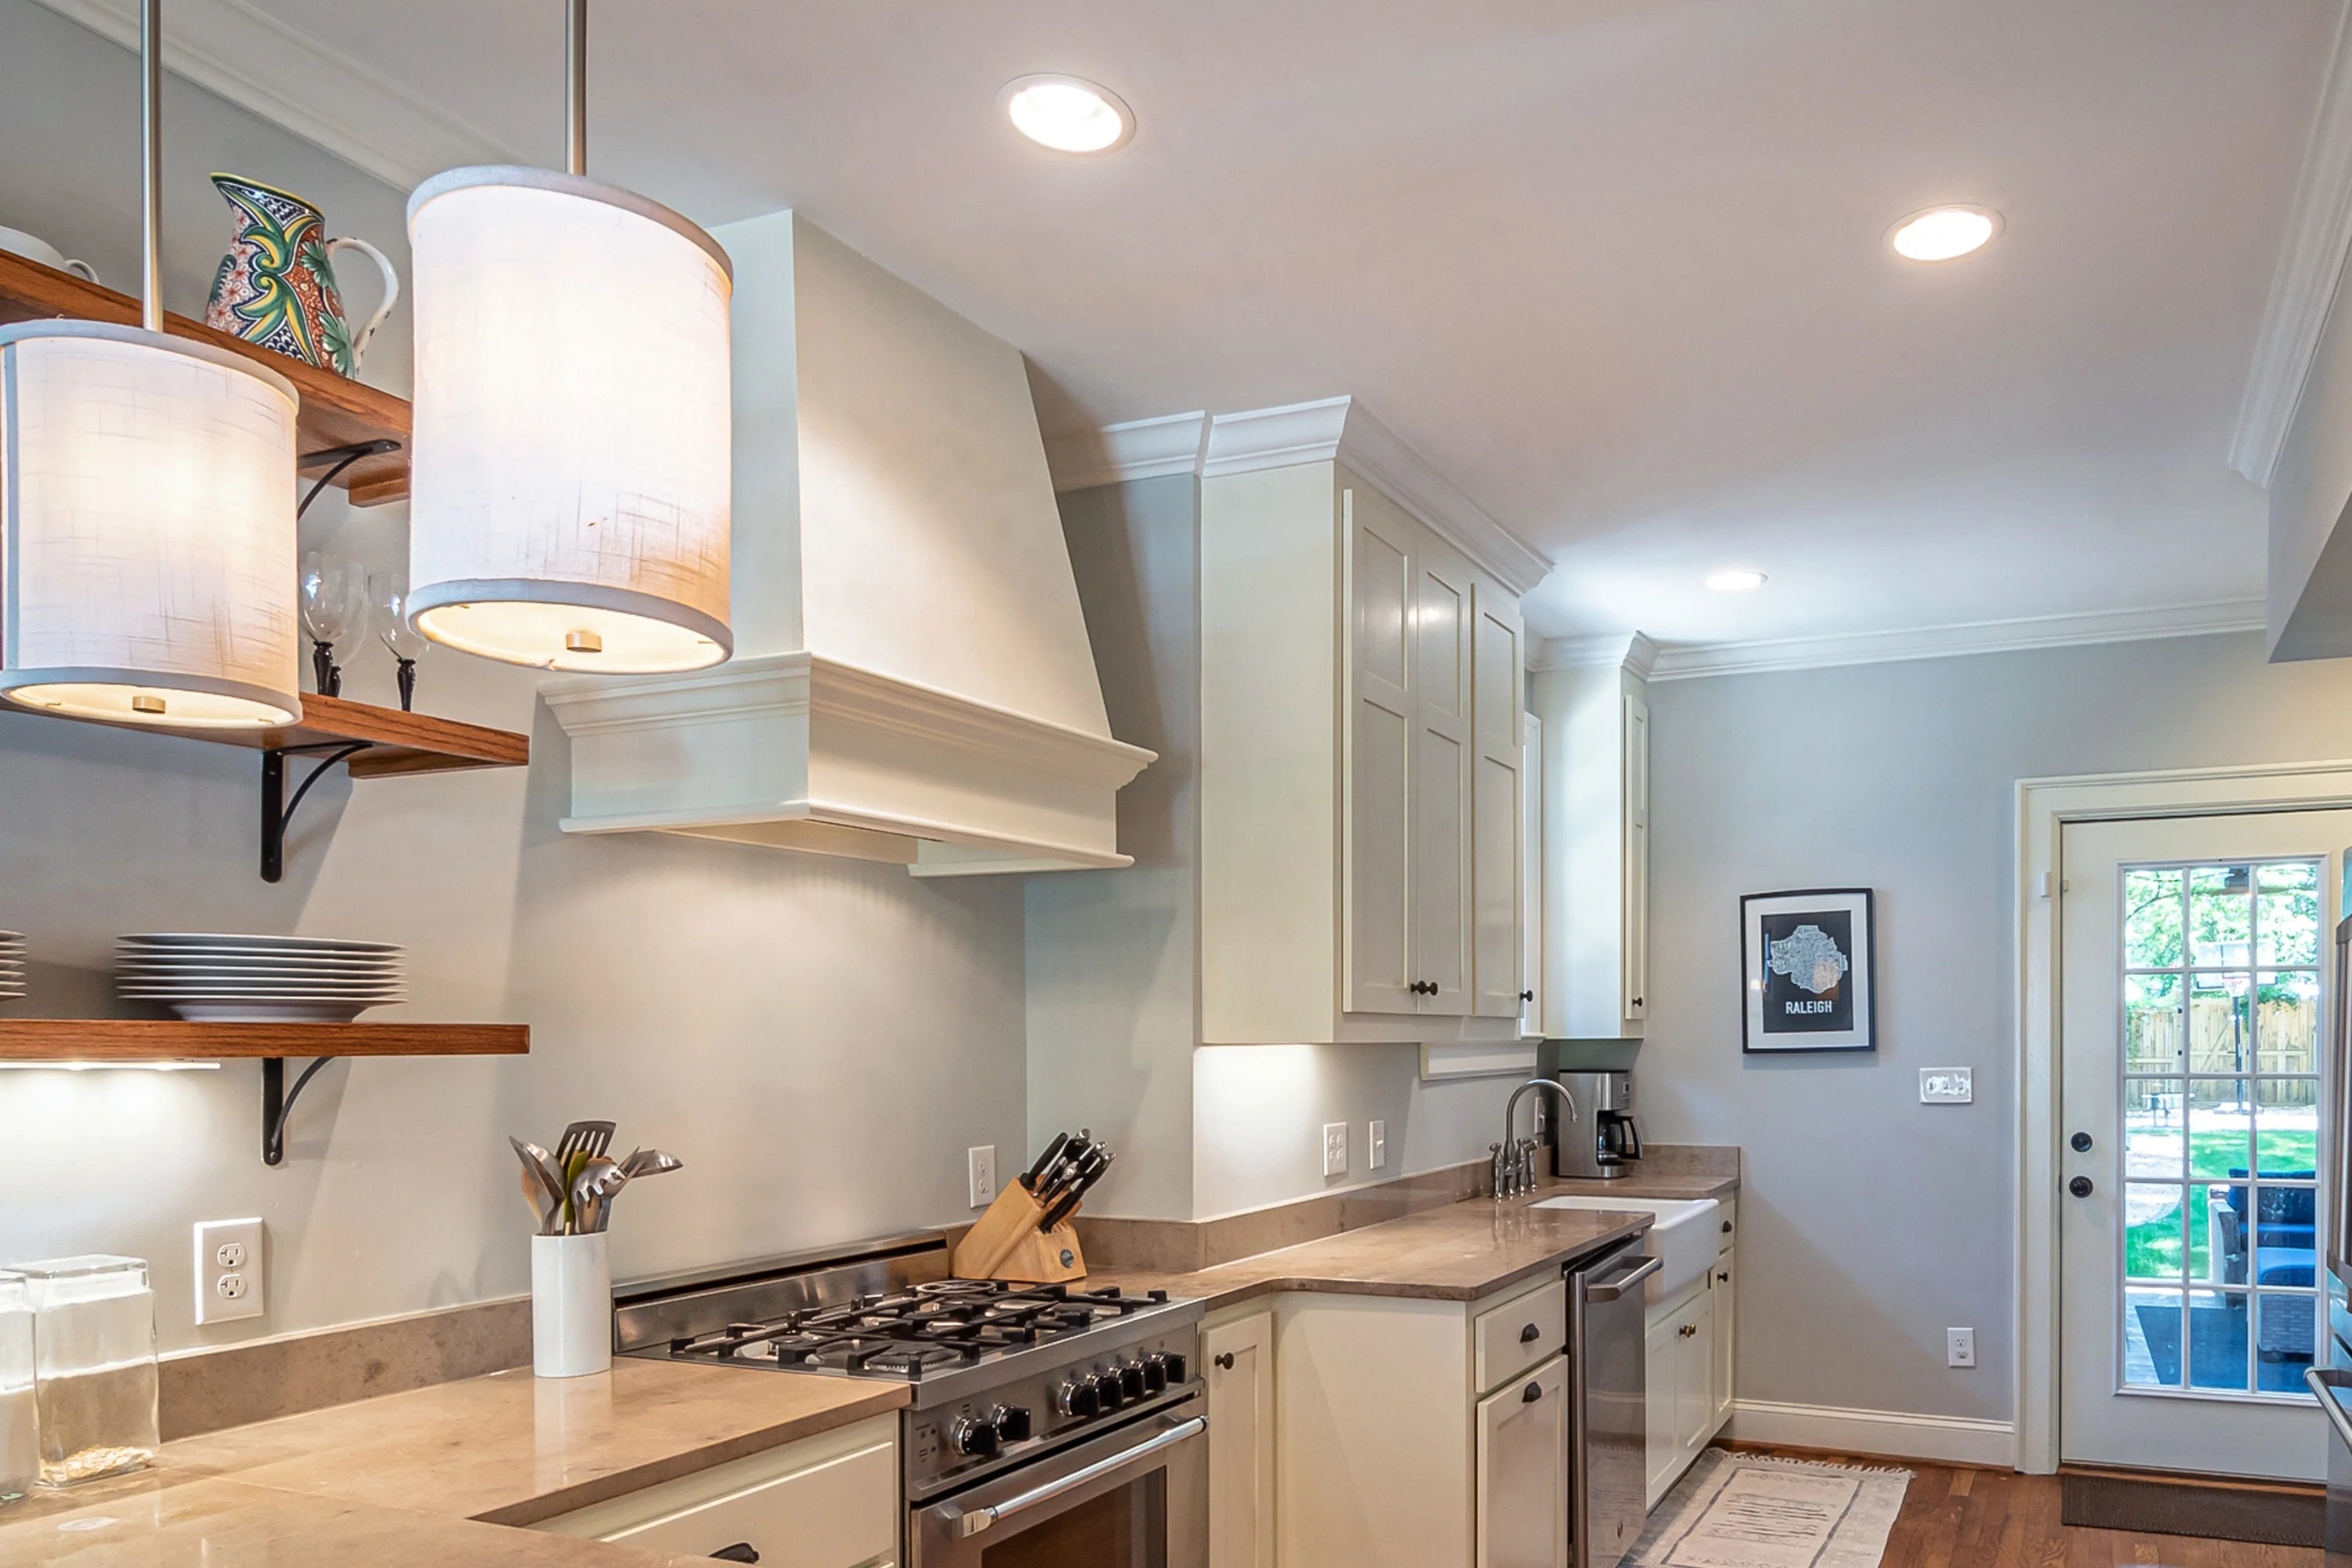
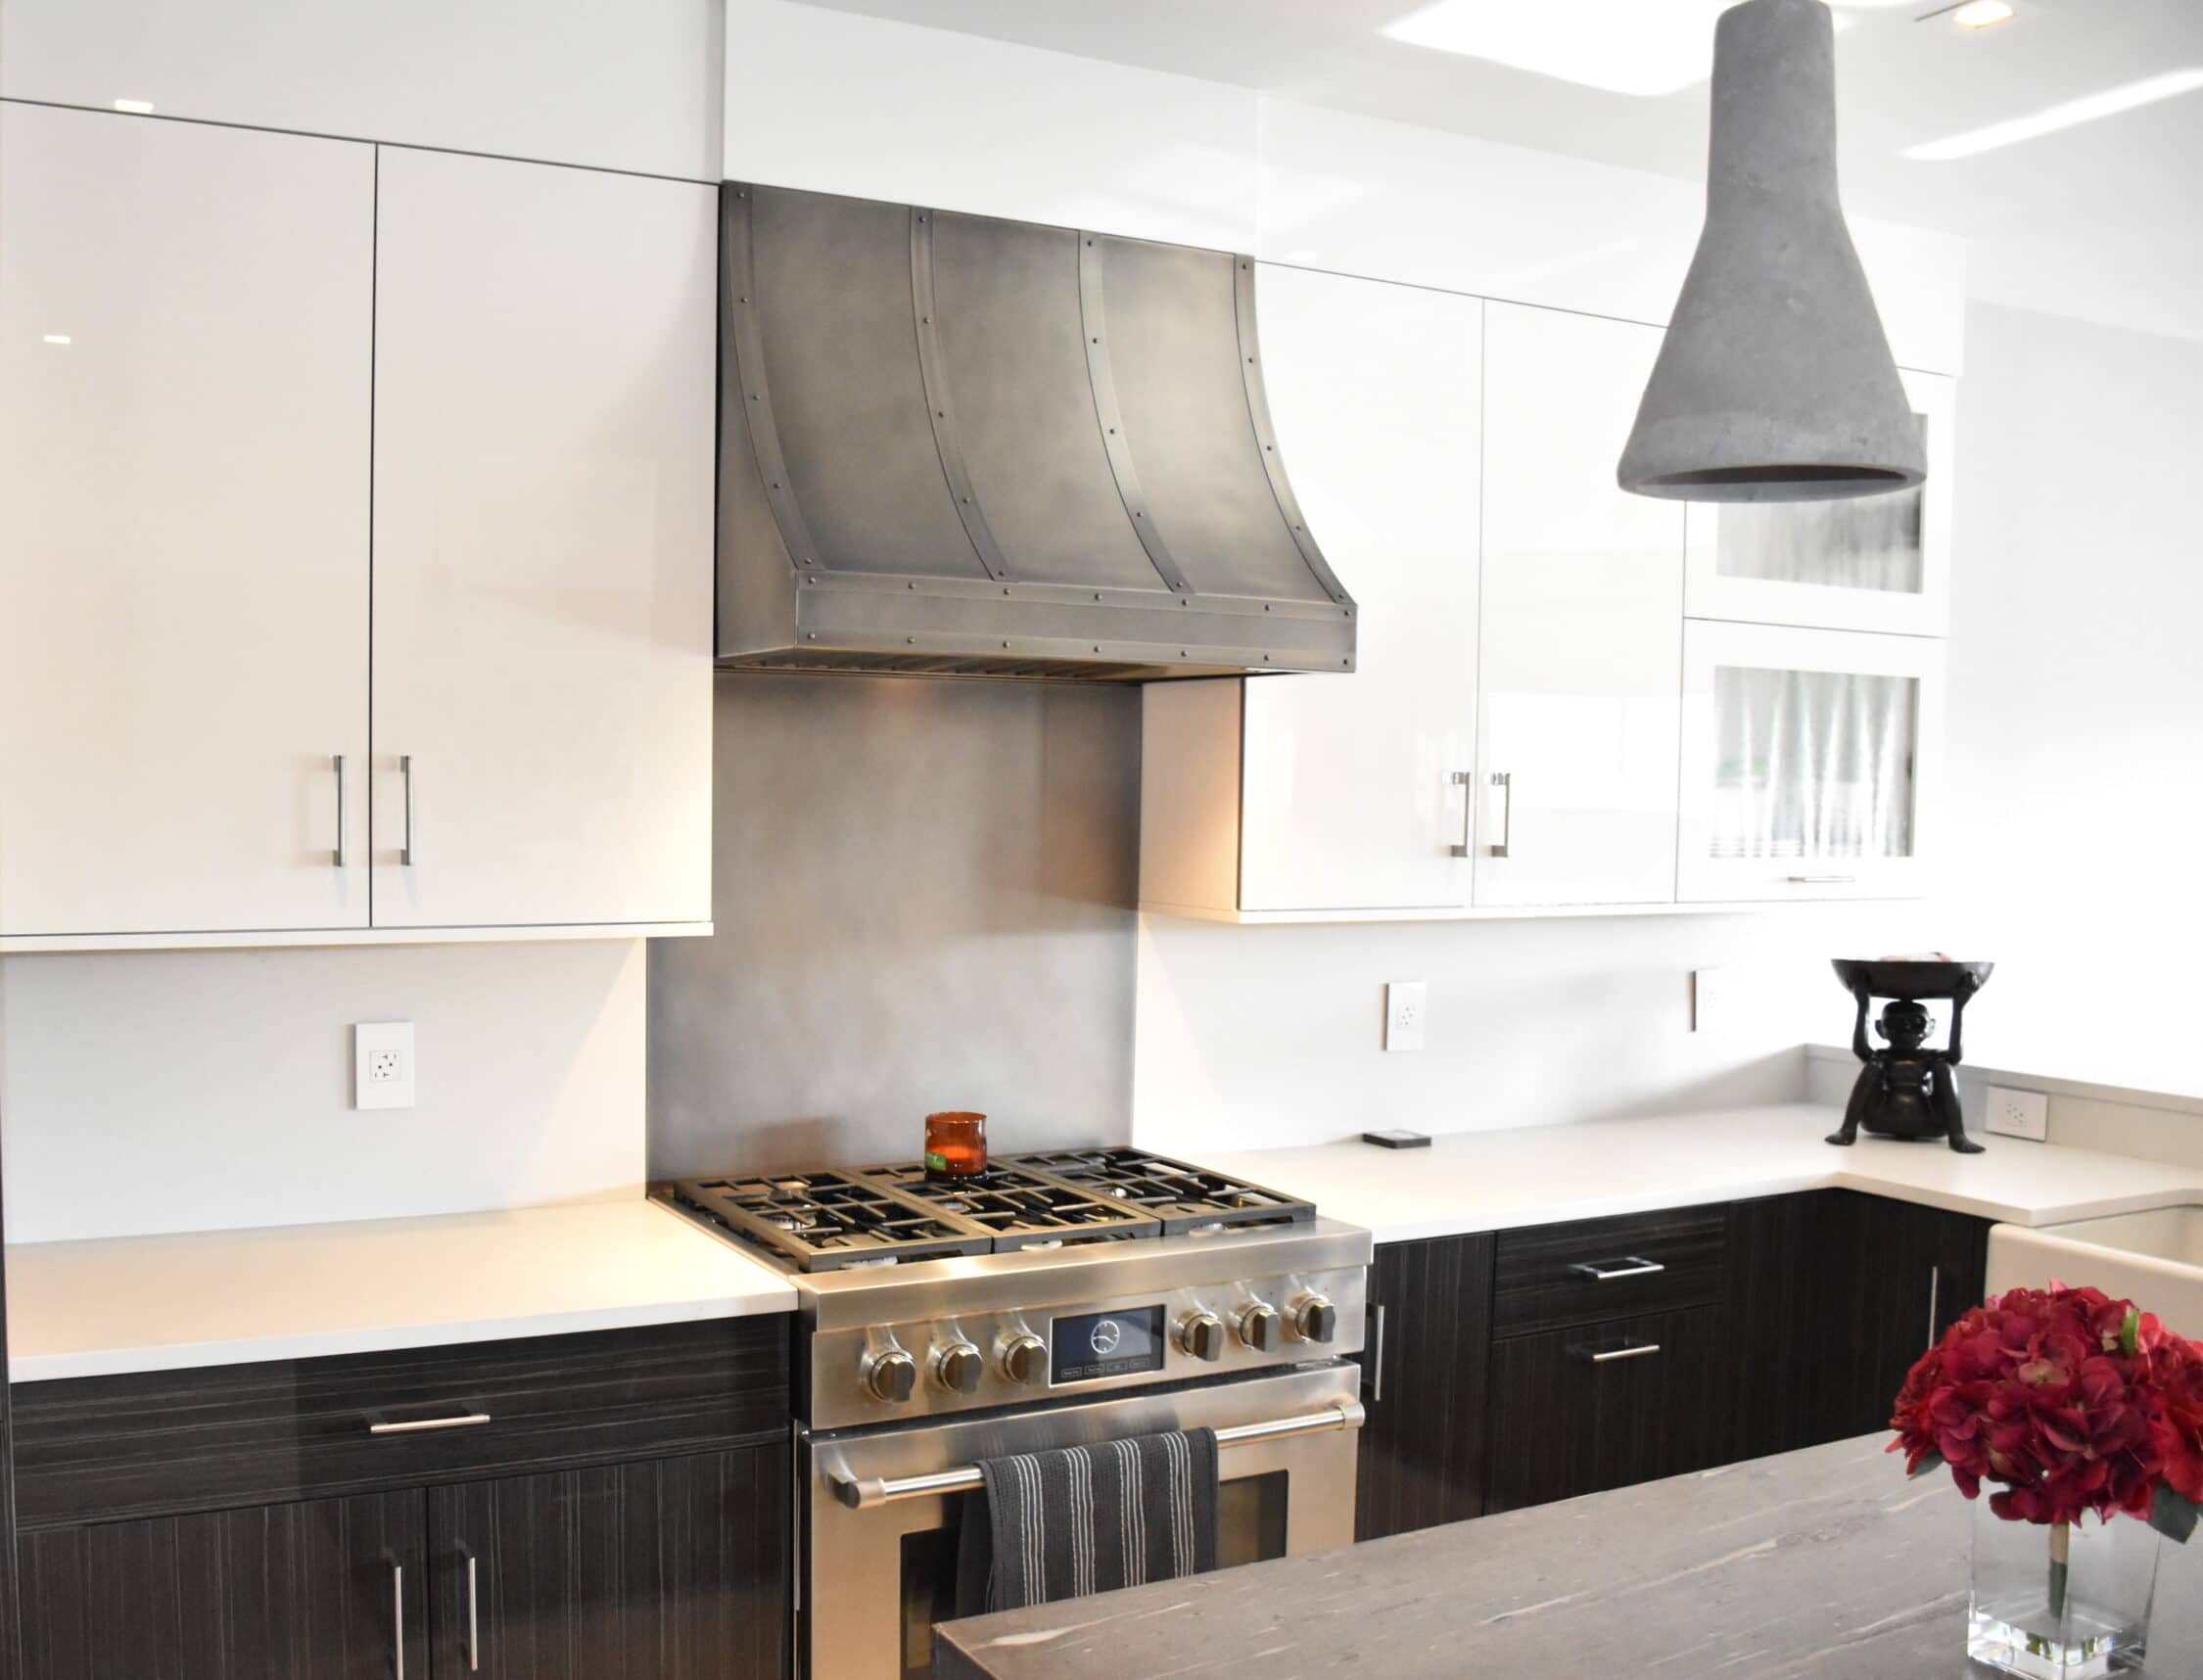
Determine Your Kitchen Style
Before starting, decide the style of your kitchen. Are you looking for a modern look with a custom stainless range hood, or do you prefer a more rustic feel with a hammered copper range hood? The choice of materials will greatly influence the design and construction process.
Measure Your Space
Accurate measurements are crucial. Measure the width, height, and depth of the area where the range hood will be installed. Ensure you account for clearance from cabinets and the gas range.
Sketch Your Design
Create a detailed sketch of your range hood design. Include all dimensions, materials to be used, and any additional features like handcrafted cabinet hardware. This sketch will serve as a blueprint for your project.
Step 2: Gathering Materials and Tools
Materials Needed
- Stainless steel sheets or copper sheets (depending on your design)
- Plywood or MDF for the frame
- Screws and nails
- Metal adhesive
- Ducting material
- Ventilation system
- Optional: A custom copper mural for decorative elements
Tools Required
- Measuring tape
- Jigsaw or circular saw
- Drill and drill bits
- Metal snips
- Screwdriver
- Level
- Safety gear (gloves, goggles)
Step 3: Building the Frame
Construct the Base
Using plywood or MDF, construct the base frame of your range hood. Ensure the frame dimensions match your measurements. The base should be sturdy enough to support the weight of the metal sheeting and the ventilation system.
Attach Support Brackets
Secure support brackets to the frame where the range hood will attach to the wall. These brackets provide additional stability and ensure the range hood is securely mounted.
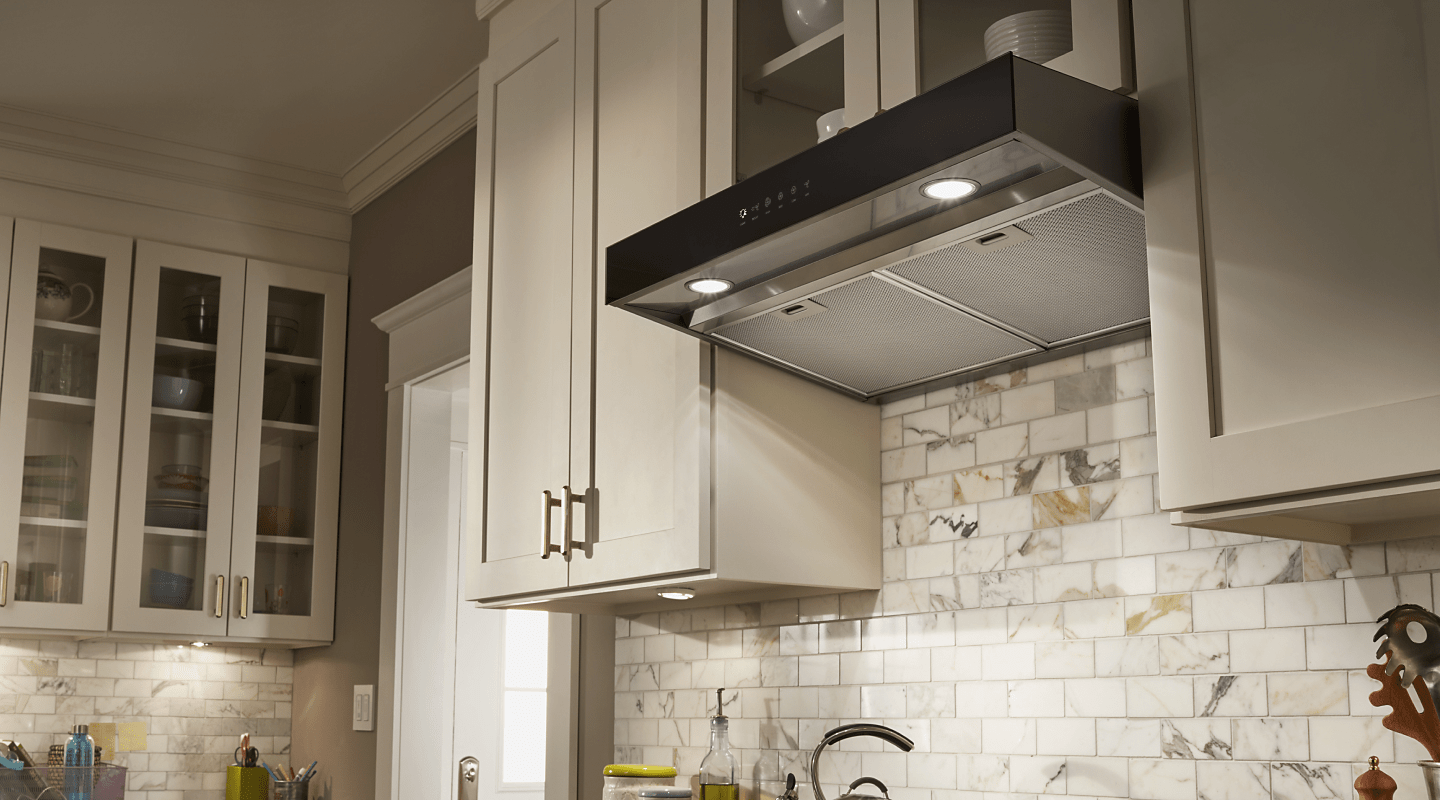
Step 4: Adding the Ventilation System
Install the Ductwork
Proper ventilation is crucial for a functional range hood. Install the ductwork according to the manufacturer’s instructions, ensuring it runs from the range hood to the exterior of your home. This step is essential for removing cooking fumes and heat efficiently.
Attach the Ventilation System
Secure the ventilation system to the frame, ensuring it is properly aligned with the ductwork. Double-check that all connections are airtight to prevent leaks.
Step 5: Applying the Metal Sheeting
Cut the Metal Sheets
Using your measurements, cut the stainless steel or copper sheets to size. For a hammered copper range hood, you may need to source pre-hammered sheets or create the hammered effect yourself using specialized tools.
Attach the Metal Sheeting
Apply metal adhesive to the frame and carefully attach the metal sheeting. Use screws or nails for additional security. Ensure all seams are tight and the metal is securely fastened to prevent any gaps.
Step 6: Finishing Touches
Adding Decorative Elements
If your design includes a custom copper mural or handcrafted cabinet hardware, now is the time to attach these elements. These details can add a unique and personalized touch to your range hood.
Inspect and Test
Once all components are in place, inspect your range hood for any loose fittings or gaps. Test the ventilation system to ensure it is working correctly and efficiently removing air from your kitchen.
Step 7: Installation
Mount the Range Hood
With the help of an assistant, carefully mount the range hood onto the wall brackets. Ensure it is level and securely fastened. Double-check all connections to the ductwork and ventilation system.
Final Inspection
Perform a final inspection to ensure everything is in place and functioning correctly. Check for any vibrations or noises during operation and make adjustments as necessary.
Why Each Step is Important
Every step in building a custom range hood is crucial for ensuring durability, functionality, and aesthetic appeal. Proper planning and design lay the foundation for a successful project, while careful construction and attention to detail ensure the range hood will perform effectively and complement your kitchen.
Choose Akicon for Your Custom Range Hood Needs
If you're looking for expert assistance in creating the perfect custom range hood, consider Akicon's services. With a reputation for excellence and a commitment to customer satisfaction, Akicon offers a range of high-quality products and professional installation services. Contact Akicon at (888) 828-2025 to learn more and start your journey towards a beautiful and functional kitchen upgrade.